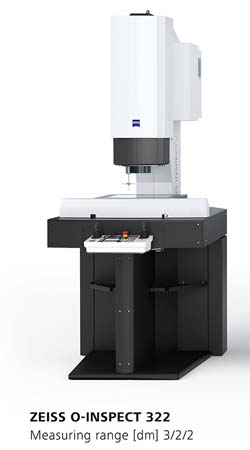
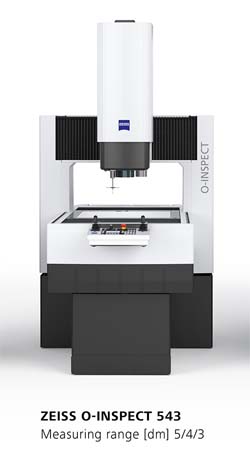
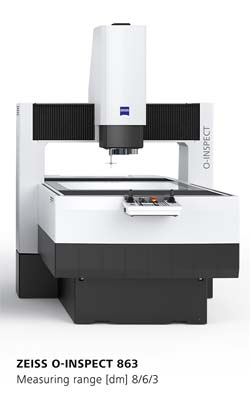
Enter ZEISS O-INSPECT multisensor measuring machines which give you just that. Also an essential feature that matches the high requirements in measuring: O-INSPECT delivers reliable 3D accuracy compliant with ISO standards at a temperature range of 18-30°C.
Highlights
Large visual field, high image definition
ZEISS Discovery.V12 zoom lens
ZEISS Discovery.V12 comes from the ZEISS Microscopy division. Compared to standard lenses, it provides a 4x larger visual field and very good image definition also in the peripheral zones. The result: reduced measuring time and excellent accuracy.
The large visual field of ZEISS Discovery.V12 fully covers a 2/3 inch camera sensor. As a result, a borehole, for example, can be completely documented with a single image. A camera method and a composition of multiple images is therefore not required.
Optimal contrast
The ZEISS O-INSPECT illumination system
A high-contrast image is necessary for precise results. O-INSPECT features a highly variable illumination system to help you achieve this. Different forms, textures and surface colours can therefore be illuminated so that different lightning angles can be realized and edges become clearly visible.
For example, an operator can filter out annoying ambient light and to illuminate coloured materials with a high level of contrast. How exactly? The outer ring light of O-INSPECT is comprised of eight blue and eight red LEDs that can be individually controlled.
Together with the appropriate optics, the colour LEDs provide the operator with high-contrast images.
Adding on to that, O-INSPECT’s mini ring light in either blue or red, increases contrast in the surface texture, thus improving focusing – for more precise measuring results.
More measured points, more information
ZEISS VAST XXT scanning sensor
O-INSPECT allows scans with probing forces in the millinewton range in areas; whereas other conventional multisensory measuring machines only permit single- point measurements with relatively high probing forces. This enables true 3D measurements of thin-walled parts. Quickly and precisely.
With the ZEISS VAST XXT, O-INSPECT is equipped with a flexible, fast and highly precise contact sensor. This scanning sensor captures a considerable number of points in a single pass to enable informative statements on form and location. A speciality in this machine class.
To offer you bigger sensor variations, two different sensors are available: the ZEISS VAST XXT TL1 features minimal measuring forces and is therefore ideal for scanning sensitive workpieces such as thin-walled, injection-molded plastic parts. The ZEISS VAST XXT TL3 accommodates higher stylus weights – for more flexibility with larger workpieces.
The ZEISS VAST XXT accommodates 30- 125 mm styli, thus also enabling the convenient measurement of deep boreholes. Star styli with styli in three spatial directions and up to 65 mm projection ensure maximum flexibility. Measurements of even complex workpiece geometries can be made without changing the stylus.
To save you even more time: the stylus is also automatically detected when a change-out occurs. Time-consuming recalibration is therefore not required.
Easy to see, easy to understand
ZEISS CALYPSO software
Camera image, CAD model and results in one view – ZEISS CALYPSO reference measuring software makes it happen and opens up entirely new dimensions of visualization. You see the actual status, nominal display and deviations simultaneously, making it particularly easy to properly allocate and interpret the measuring results.
Also with CALYPSO, you have access to the same software used to operate our other coordinate measuring machines. CALYPSO combines immense functionality and flexibility with a universal, intuitive operating concept. CALYPSO allows you quickly and easily complete a wide range of measuring tasks with different sensors in the same way.
On the pallet, ready to measure
Less time, more quality
Convenience and reliability are vital to everyday measurements. The pallet system, calibration objects and fixtures for O-INSPECT provide you with additional time and reliability.
A special feature: the temperature of the workpiece on the pallet is automatically checked and is used for temperature compensation.
White light distance sensor
Efficient optical measurement
A white light distance sensor is available for all O-INSPECT models. It can be used to measure 3D structures optically and efficiently. Obtaining height information is based on the chromatic confocal principle.
The advantage: the sensor does not contain any moving mechanical parts and is therefore not particularly sensitive to interference and very durable.
For measurement of your glossy and matte surfaces, the white light distance sensor can be used to inspect reflecting or transparent objects such as glass and highly absorbent, matte surfaces.
The flexibility of ZEISS O-INSPECT makes it the ideal solution for inspection jobs in the medical technology, plastics technology, electronics and precision engineering industries.
See the O-INSPECT in action at MTA Vietnam 2016 (Ho Chi Minh City) at our business partner DKSH’s booth.
To request for a personal demo or to simply find out more, get in touch with your local ZEISS representative at any of the ZEISS locations in Southeast Asia.
http://www.zeiss.com.sg/corporate/en_sg/the-company/locations.html


 Login/Register
 Supplier Login


